요즘IT
위시켓
최근 검색어
전체 삭제
최근 검색어가 없습니다.

내가 처음 개발자가 되기로 마음먹은 것은 웹 화면에 내 생각을 그대로 옮겨놓을 수 있다는 점 때문이었다. 하지만 막상 공부해 보니 그림이나 사진처럼 생각을 화면에 옮기는 것은 어려운 일이었고, 그런 일은 개발자보단 디자이너의 역할에 더 가까웠다.

회원가입을 하면 원하는 문장을
저장할 수 있어요!

다음

회원가입을 하면
성장에 도움이 되는 콘텐츠를
스크랩할 수 있어요!

확인

개발

Canvas API로 가을을 표현해 본다면?

년차,
어떤 스킬
,
어떤 직무
독자들이 봤을까요?
어떤 독자들이 봤는지 궁금하다면?
로그인
Canvas API
<출처: 작가>


내가 처음 개발자가 되기로 마음먹은 것은 웹 화면에 내 생각을 그대로 옮겨놓을 수 있다는 점 때문이었다. 하지만 막상 공부해 보니 그림이나 사진처럼 생각을 화면에 옮기는 것은 어려운 일이었고, 그런 일은 개발자보단 디자이너의 역할에 더 가까웠다.


그러다 우연히 유튜브에서 한 영상을 보게 되었는데, 바로 Canvas API를 활용해 만든 인터랙티브 웹 포트폴리오 영상이었다. 영상을 보니 개발자로서 무엇이든 만들어 낼 수 있을 것 같다는 생각이 들었다. 나는 초심을 되찾을 겸 Canvas API를 공부해 보기로 했다. 이론만 공부하면 재미가 없으니 간단한 작업물을 만들어 보고 싶었고, 가을을 맞이해 바람에 흩날리는 비와 낙엽을 표현해 보았다.


Canvas API
<출처: 작가>


이번 글에서는 나처럼 Canvas API에 이제 막 흥미가 생긴 사람들을 위해 작업 과정을 공유해 보고자 한다. 기본적인 Canvas API 메서드를 활용해 만들었고, 대단한 고급 기술은 사용하지 않았다. 그럼에도 내가 표현하려고 했던 것들을 충분히 담아낼 수 있었다.


HTML5의 Canvas API

HTML은 그동안 많은 변화를 거쳤는데, 버전이 올라갈수록 사용자 인터랙션을 위한 API들이 추가되어 왔다. 처음에는 단순하게 글자를 보여주는 웹페이지를 만드는 마크업 언어로 시작해서, 현재는 다양한 타입의 미디어를 감상할 수 있고 서버와의 통신까지 경험할 수 있는 API들을 내장하게 되었다.


Canvas API는 HTML5에서 제공하는 기능 중 하나로, HTML 엘리먼트인 <canvas> 요소에 내장된 여러 프로퍼티와 메서드를 가리킨다. Canvas API를 사용하기 위해서는 우선 쿼리셀렉터로 canvas 요소에 접근해야 한다. 그 후에 getContext() 메서드를 호출해 컨텍스트 인터페이스를 가지고 오면, 컨텍스트 내부에서 그리기를 시작할 수 있다. 컨텍스트에는 다시 여러 그리기 메서드에 내장되어 있다. 대표적으로 arc 메서드로 곡선을 그리거나 stroke 메서드로 직선을 그리는 것이 가능하다.


가을을 표현하는 과정

1) 가을 배경 이미지

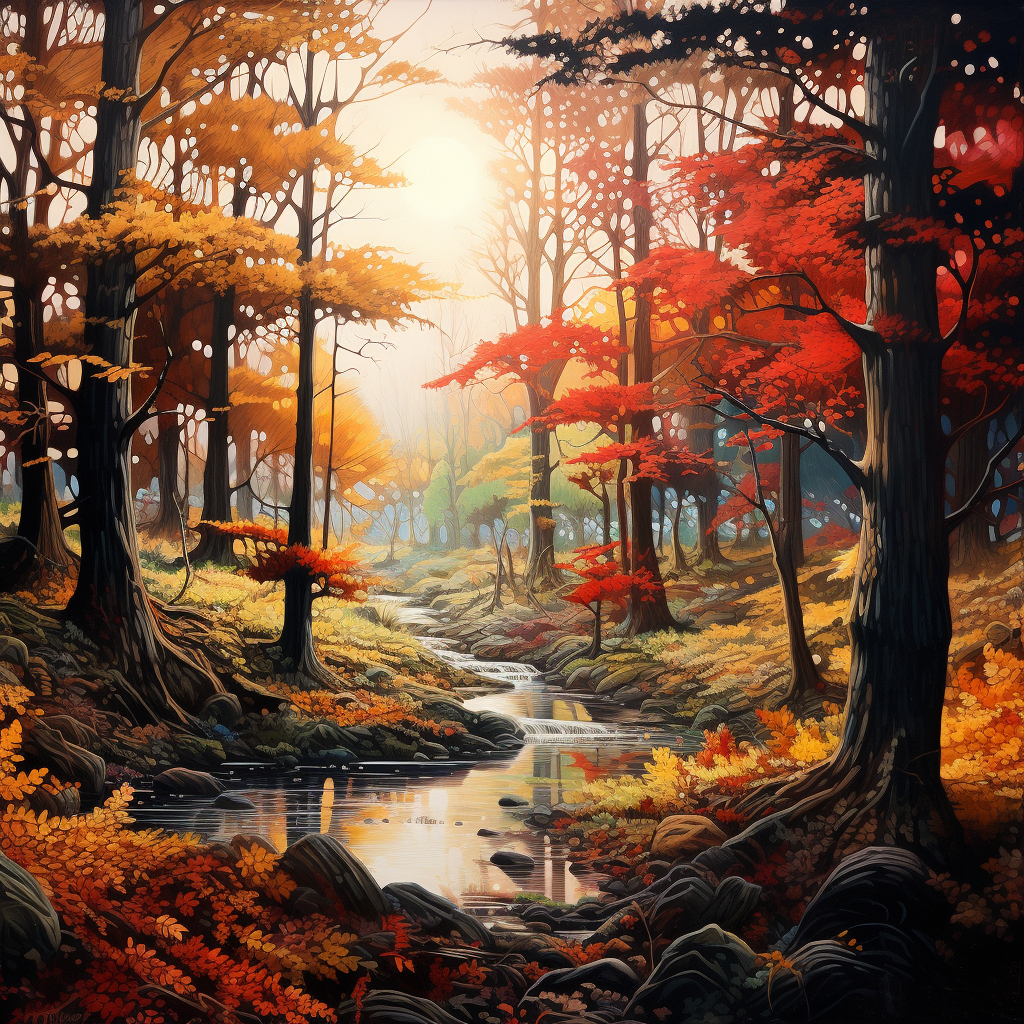
먼저 배경 이미지가 필요했다. 검은색 배경보다는 가을 풍경이 훨씬 실감 날 것 같았다. 아트웍들이 많이 모여있는 itch.io를 비롯해 다양한 곳에서 검색해 봤지만, 마음에 들지 않거나 상업적인 용도로 사용할 수 없는 등의 이유로 적절한 자료를 찾을 수 없었다. 그래서 미드저니에 만들어달라고 부탁했다.


처음 생성형 AI를 마주했을 때는 내 직업을 포함해 사람들의 일거리를 모두 가져갈 거라는 불안감도 있었지만, 그 편리함에 나도 모르게 계속 사용하고 있다.  미드저니가 만든 배경은 다음과 같다.


  • 입력한 명령어: ‘a day of autumn where there are trees in forest’


// App.js

import {randomNumBetween} from "../../utils.js";
import Background from "./Background.js";

export default class App {
  static canvas = document.querySelector("canvas");
  static ctx = App.canvas.getContext("2d");
  static dpr = devicePixelRatio > 1 ? 2 : 1;
  static interval = 1000 / 60;
  static width = 1024;
  static height = 768;
  static bgColor = "#000000";

  constructor() {
    window.addEventListener("resize", this.resize.bind(this)); // bind to the App instead of window
    this.background = new Background({
      img: document.querySelector("#autumn-forest"),
    });
  }

  resize() {
    App.canvas.width = App.width * App.dpr;
    App.canvas.height = App.height * App.dpr;
    App.ctx.scale(App.dpr, App.dpr);

    const width = Math.min(innerWidth, innerHeight);

    App.canvas.style.width = `${width}px`;
    App.canvas.style.height = `${width * (3 / 4)}px`;
  }

  render() {
    let delta;
    let then = performance.now();

    const frame = (now) => {
      requestAnimationFrame(frame);
      delta = now - then;

      if (delta < App.interval) {
        return;
      }
      this.background.draw();

      App.ctx.fillStyle = App.bgColor + "50"; // #0000010
      App.ctx.fillRect(0, 0, App.width, App.height);

      then = now - (delta % App.interval);
    };

    requestAnimationFrame(frame);
  }
}


// Background.js
import App from "./App.js";

export default class Background {
  constructor({img}) {
    this.img = img;
  }

  update() {}

  draw() {
    App.ctx.drawImage(this.img, 0, 0, this.img.width, this.img.height);
  }
}


이 이미지를 index.html에 img 태그로 삽입한 후, display:none 처리로 감추었다. 실제로 배경을 그리는 것은 프레임마다 drawImage 함수를 통해 그려지도록 했다. 프레임마다 새로 그리는 이유는 리사이징을 위해서였다. 화면크기가 변경되면 캔버스의 사이즈가 바뀌고, 바뀐 캔버스 사이즈를 기준으로 이미지가 다시 그려진다.


2) 비 내리는 2D 효과

Canvas API
<출처: 작가>


// App.js
import {randomNumBetween} from "../../utils.js";
import Rain from "./Rain.js";

export default class App {
  static canvas = document.querySelector("canvas");
  static ctx = App.canvas.getContext("2d");
  static dpr = devicePixelRatio > 1 ? 2 : 1;
  static interval = 1000 / 60;
  static width = 1024;
  static height = 768;
  static bgColor = "#000000";

  constructor() {
    window.addEventListener("resize", this.resize.bind(this)); // bind to the App instead of window
    this.rains = [];
  }

  resize() {
    App.canvas.width = App.width * App.dpr;
    App.canvas.height = App.height * App.dpr;
    App.ctx.scale(App.dpr, App.dpr);

    const width = Math.min(innerWidth, innerHeight);

    App.canvas.style.width = `${width}px`;
    App.canvas.style.height = `${width * (3 / 4)}px`;
  }

  createRain() {
    const x = randomNumBetween(App.width * -0.01, App.width * 0.99);
    const vy = App.height * randomNumBetween(0.015, 0.02) * -1;
    const colorDeg = 180;
    this.rains.push(new Rain(x, vy, colorDeg, this.windVector));
  }

  render() {
    let delta;
    let then = performance.now();

    const frame = (now) => {
      requestAnimationFrame(frame);
      delta = now - then;

      if (delta < App.interval) {
        return;
      }

      if (Math.random() < 0.9) {
        this.createRain();
      }

      this.rains.forEach((rain, idx) => {
        rain.update(this.windVector);
        rain.draw();

        if (rain.vy < -50) {
          this.rains.splice(idx, 1);
        }
      });

      if (Math.random() < 0.05) {
        this.createLeaf();
      }

      then = now - (delta % App.interval);
    };

    requestAnimationFrame(frame);
  }
}

// Rain.js
import CanvasOption from "../../boilerplate/js/CanvasOption.js";
import {randomNumBetween} from "../../utils.js";

export default class Rain extends CanvasOption {
  constructor(x, vy, colorDeg, windVector) {
    super();
    this.x = x;
    this.y = 0;
    this.vy = vy;
    this.colorDeg = colorDeg;
    this.acc = 1.05;
    this.opacity = 0.3;
    this.windVector = windVector;
    this.frameCount = 0;
  }

  update(curWindVector) {
    this.vy *= this.acc;
    this.y -= this.vy;
    this.frameCount++;

    if (this.frameCount >= 30) {
      this.windVector = curWindVector;
      this.frameCount = 0;
    }
  }

  draw() {
    this.ctx.strokeStyle = `hsla(${this.colorDeg}, 40%, 76%, ${this.opacity})`;
    this.ctx.lineWidth = randomNumBetween(1, 2);
    this.ctx.lineCap = "round";

    this.ctx.beginPath();
    this.ctx.moveTo(this.x, this.y);
    const rainLength = randomNumBetween(100, 200);
    this.ctx.lineTo(this.x + -this.windVector * 0.07, this.y - rainLength);
    this.ctx.stroke();
    this.ctx.closePath();
  }
}


다음으로 비의 모양을 결정했는데 의외로 한참 고민했다. 동그란 빗방울이 떨어지면서 꼬리를 궤적으로 표현해야 하는지, 아니면 기다란 직선으로 표현해야 하는지 고민됐다. 결론적으로는 직선을 선택했고, 보이는 대로 표현하는 것이 더 적합하다고 생각했다.


이때 stroke 메서드를 사용하면 직선을 그릴 수 있다. 먼저 선의 색과 선의 너비를 지정해 주고, 시작점과 끝점의 좌표를 지정한 후에 stroke 함수를 실행하면 직선이 만들어진다. 색상은 aqua 컬러로 선택하고 opacity는 0.3을 주어 투명도를 올렸다. 너비는 1에서 2픽셀 사이, 길이는 100에서 200픽셀 사이의 랜덤한 값으로 정해지도록 Math.random을 사용했다.


이렇게 Rain 클래스를 만들어서, 각각의 빗줄기를 개별 인스턴스로 생성해 배열에 담아 관리했다. 프레임마다 빗줄기 인스턴스를 생성하고, 배열을 순회하면서 좌표를 업데이트 해주었다. 인스턴스가 너무 많아질 경우 브라우저 성능이 저하될 우려가 있어, 화면에서 보이지 않는 곳에 도달한 빗줄기 인스턴스는 배열 순회 시에 삭제되도록 했다.


이 과정에서 반복문과 splice를 사용했는데, 사실 반복문 안에서 splice를 사용하는 경우 곧바로 해당 인덱스가 사라지고, 그 뒤 요소들은 한 칸씩 앞으로 밀려오기 때문에 바로 다음 요소를 탐색하지 않고 건너뛰게 되는 문제가 있다. 그래서 알고리즘 풀이에서는 배열을 거꾸로 탐색하면서 splice를 하거나, 아니면 filter메서드를 쓰는 등의 대안이 필요하다.


조금 더 자세히 설명해 보면, 이 프로젝트 코드에서는 프레임마다 모든 직선(인스턴스)들이 담겨있는 배열 순회가 이루어진다. 배열을 처음부터 끝까지 탐색하면서 각 직선의 시작 좌표와 끝 좌표를 좀 더 아래쪽으로 이동시켜 주고, 만약 삭제 조건에 부합한다면 배열에서 삭제하도록 했다. 여기서 누락이 발생하더라도, 애니메이션이 한번 시작된 이후에는 프레임이 끝없이 반복되며 프레임마다 배열 순회가 이루어지기 때문에, 다음 프레임에서 삭제할 기회가 한 번 더 생긴다. 삭제 조건은 이미 만족했기에 다음 프레임에서 삭제될 것이다. 


만약에 운이 나빠 특정 요소가 계속해서 누락되더라도 언젠가는 첫 번째 요소가 될 것이고, 그러면 그때는 그 요소가 가장 먼저 탐색될 것이다.  이런 이유로 배열 순회 시 요소가 누락되는 현상을 큰 문제라고 여기지 않았다. 오히려 누락을 피하고자 한 프레임에서 좌표를 업데이트하려고 배열을 탐색한 후, 다시 삭제할 요소들의 필터링하기 위해 filter 메서드로 배열을 탐색하는 것이 더 비효율적이라고 판단했다. 


3) 낙엽이 떨어지는 2D 효과

Canvas API
<출처: 작가>


// App.js
import {randomNumBetween} from "../../utils.js";
import Leaf from "./Leaf.js";

export default class App {
  static canvas = document.querySelector("canvas");
  static ctx = App.canvas.getContext("2d");
  static dpr = devicePixelRatio > 1 ? 2 : 1;
  static interval = 1000 / 60;
  static width = 1024;
  static height = 768;
  static bgColor = "#000000";

  constructor() {
    window.addEventListener("resize", this.resize.bind(this)); // bind to the App instead of window

    this.leafImages = [
      document.querySelector("#yellow-leaf-1"),
      document.querySelector("#yellow-leaf-2"),
      document.querySelector("#yellow-leaf-3"),
      document.querySelector("#red-leaf"),
    ];
    this.leaves = [];
  }

  resize() {
    App.canvas.width = App.width * App.dpr;
    App.canvas.height = App.height * App.dpr;
    App.ctx.scale(App.dpr, App.dpr);

    const width = Math.min(innerWidth, innerHeight);

    App.canvas.style.width = `${width}px`;
    App.canvas.style.height = `${width * (3 / 4)}px`;
  }

  createLeaf() {
    const x = randomNumBetween(App.width * -0.01, App.width * 0.99);
    const vy = App.height * randomNumBetween(0.001, 0.003) * -1;

    const idx = Math.floor(randomNumBetween(1, 5)) % 4;
    this.leaves.push(new Leaf(x, vy, this.windVector, this.leafImages[idx]));
  }

  render() {
    let delta;
    let then = performance.now();

    const frame = (now) => {
      requestAnimationFrame(frame);
      delta = now - then;

      if (delta < App.interval) {
        return;
      }

      if (Math.random() < 0.05) {
        this.createLeaf();
      }

      this.leaves.forEach((leaf, idx) => {
        leaf.update(this.windVector);
        leaf.draw();
        if (leaf.vy < -50) {
          this.leaves.splice(idx, 1);
        }
      });

      then = now - (delta % App.interval);
    };

    requestAnimationFrame(frame);
  }
}

// Leaf.js
import CanvasOption from "../../boilerplate/js/CanvasOption.js";

export default class Leaf extends CanvasOption {
  constructor(x, vy, windVector, img) {
    super();
    this.x = x;
    this.y = 0;
    this.vy = vy;
    this.acc = 1.001;
    this.windVector = windVector;
    this.img = img;
  }

  update(curWindVector) {
    this.vy *= this.acc;
    this.y -= this.vy;
    this.windVector = Math.floor(curWindVector / 100);
    this.x += this.windVector;
  }

  draw() {
    const width = 70;
    const height = 70;
    this.ctx.drawImage(this.img, this.x, this.y - height, width, height);
  }
}


낙엽은 빗줄기처럼 수직 낙하를 하지만 직선이 아닌 낙엽 이미지로 그려진다. 그리고 낙엽은 공기 저항을 받으므로 비보다 훨씬 느리게 떨어진다. 이는 미드저니에 떨어지는 낙엽을 4개 그려 달라고 한 다음 배경을 지웠다. 배경을 깔끔하게 지우려면 명령어에 ‘no background’ 또는 ‘plain background’를 넣으면 된다는 팁을 얻어서 해당 키워드를 포함했다.


  • 입력한 명령어: ‘a yellow leaf falling with black plain background’


Canvas API
Canvas API
<출처: 작가>


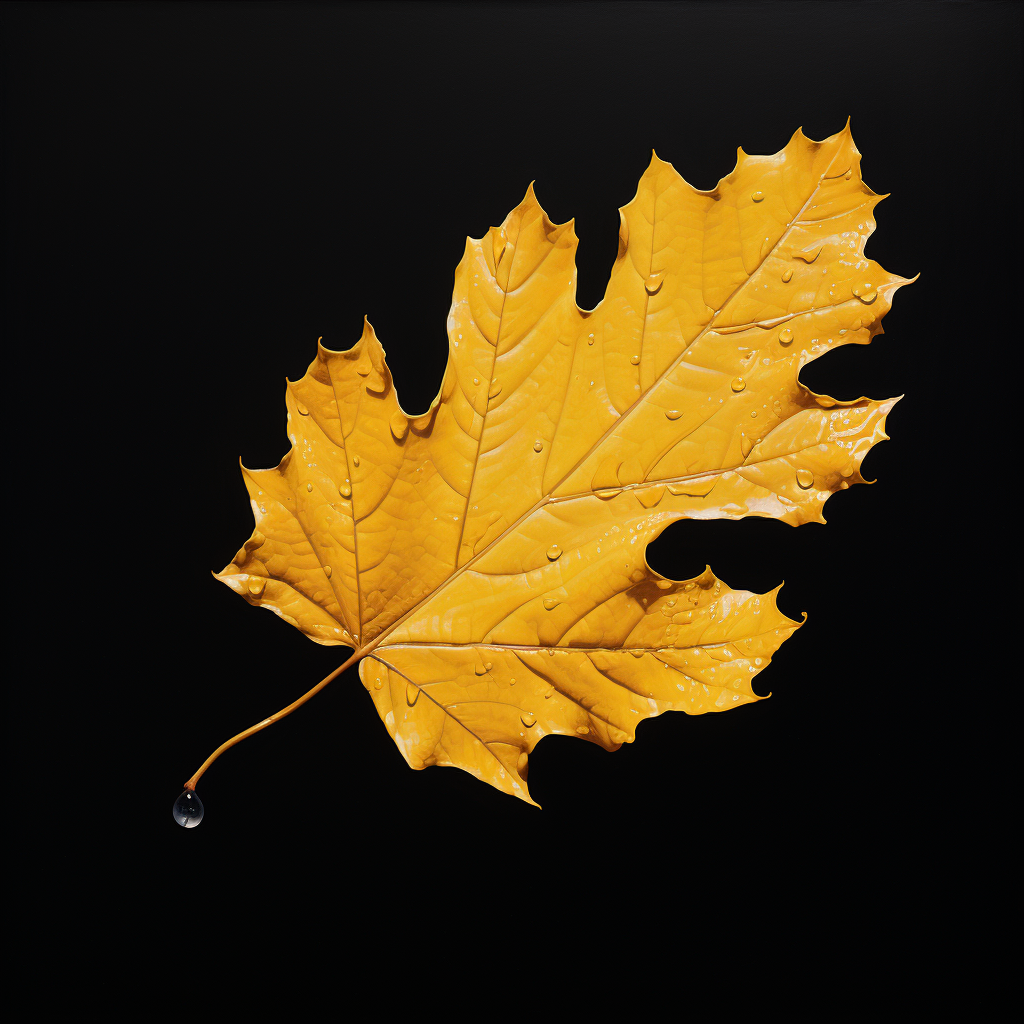
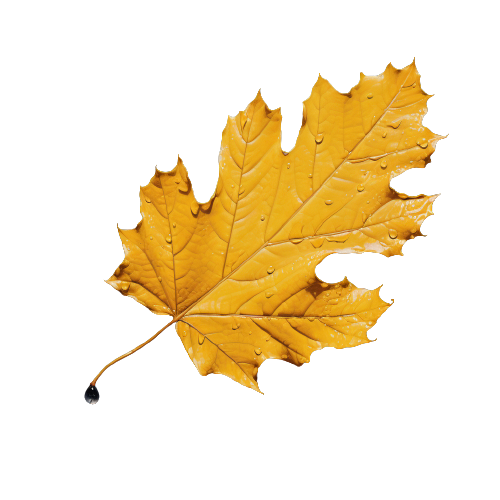
낙엽도 빗줄기와 마찬가지로 인스턴스 배열로 관리했다. 다만 프레임마다 stroke가 아닌 drawImage 함수를 실행시켰다. 낙엽 이미지들은 배경 이미지와 마찬가지로 index.html에 img 태그로 삽입한 후, display:none 처리로 감추었다. 그리고 프레임마다 새로운 낙엽 인스턴스를 생성하는 순간에 math.random과 나머지 연산을 활용해, 낙엽 이미지가 4개 중 랜덤으로 선택되도록 했다.


4) 바람이 부는 2D 효과

Canvas API
<출처: 작가>


// App.js
import {randomNumBetween} from "../../utils.js";
import Leaf from "./Leaf.js";
import Mouse from "./Mouse.js";
import Rain from "./Rain.js";

export default class App {
  static canvas = document.querySelector("canvas");
  static ctx = App.canvas.getContext("2d");
  static dpr = devicePixelRatio > 1 ? 2 : 1;
  static interval = 1000 / 60;
  static width = 1024;
  static height = 768;
  static bgColor = "#000000";

  constructor() {
    window.addEventListener("resize", this.resize.bind(this)); // bind to the App instead of window

    this.leafImages = [
      document.querySelector("#yellow-leaf-1"),
      document.querySelector("#yellow-leaf-2"),
      document.querySelector("#yellow-leaf-3"),
      document.querySelector("#red-leaf"),
    ];
    this.mouse = new Mouse(App.canvas);
    this.windVector = 0;
    this.rains = [];
    this.leaves = [];
  }

  resize() {
    App.canvas.width = App.width * App.dpr;
    App.canvas.height = App.height * App.dpr;
    App.ctx.scale(App.dpr, App.dpr);

    const width = Math.min(innerWidth, innerHeight);

    App.canvas.style.width = `${width}px`;
    App.canvas.style.height = `${width * (3 / 4)}px`;
  }

  createRain() {
    const x = randomNumBetween(App.width * -0.01, App.width * 0.99);
    const vy = App.height * randomNumBetween(0.015, 0.02) * -1;
    const colorDeg = 180;
    this.rains.push(new Rain(x, vy, colorDeg, this.windVector));
  }

  createLeaf() {
    const x = randomNumBetween(App.width * -0.01, App.width * 0.99);
    const vy = App.height * randomNumBetween(0.001, 0.003) * -1;

    const idx = Math.floor(randomNumBetween(1, 5)) % 4;
    this.leaves.push(new Leaf(x, vy, this.windVector, this.leafImages[idx]));
  }

  render() {
    let delta;
    let then = performance.now();

    const frame = (now) => {
      requestAnimationFrame(frame);
      delta = now - then;

      if (delta < App.interval) {
        return;
      }
      const mouseXPos = this.mouse.pos.x;
      this.windVector = mouseXPos * 2 - innerWidth;

      if (Math.random() < 0.9) {
        this.createRain();
      }

      this.rains.forEach((rain, idx) => {
        rain.update(this.windVector);
        rain.draw();

        if (rain.vy < -50) {
          this.rains.splice(idx, 1);
        }
      });

      if (Math.random() < 0.05) {
        this.createLeaf();
      }

      this.leaves.forEach((leaf, idx) => {
        leaf.update(this.windVector);
        leaf.draw();
        if (leaf.vy < -50) {
          this.leaves.splice(idx, 1);
        }
      });

      then = now - (delta % App.interval);
    };

    requestAnimationFrame(frame);
  }
}

// Mouse.js
import Vector from "./Vector.js";

export default class Mouse {
  constructor(canvas) {
    this.pos = new Vector(-1000, 1000);
    this.radius = 100;

    canvas.onmousemove = e => this.pos.setXY(e.clientX, e.clientY);
    canvas.ontouchmove = e =>
      this.pos.setXY(e.touches[0].clientX, e.touches[0].clientY);
  }
}


바람은 눈에 보이지 않는 공기의 움직임이기 때문에 그 자체로 표현하기는 어렵지만, 마우스의 움직임에 따라 windVector 값을 지정했다. 이 벡터값에 의해 비와 낙엽의 x 좌표가 좌우로 변경되도록 해서 바람에 따라 흩날리는 움직임을 표현한 것이다.


먼저 마우스 클래스를 만들고, App이 맨 처음 생성될 때 마우스를 인스턴스화하면서 생성자 파라미터로 캔버스 레퍼런스를 전달해 주었다. 이 마우스 인스턴스는 전달받은 canvas의 onmousemove, ontouchmove API를 통해 포지션이 결정된다.


다음으로 windVector 변수를 만들고, 프레임마다 마우스 포지션이 화면의 중심으로부터 왼쪽 혹은 오른쪽으로 얼마나 떨어져 있는지 계산해서 업데이트되도록 했다. 이 windVector를 낙엽과 비 인스턴스를 생성할 때 x 좌표와 함께 생성자 패러미터로 넘기고, 본래는 고정되어 있던 x 좌표에 영향을 주어 인스턴스가 왼쪽 혹은 오른쪽으로 이동하도록 했다.


Canvas API를 사용하며 느낀 점

수학, 기하학적인 연산에 즐거움을 느끼는 사람이라면 짜릿함을 느낄 수 있는 지점이 많을 것 같다. Canvas API로 화면을 구성하다 보면, 화면 전체를 좌표평면으로 놓고 프레임마다 각 요소들이 어느 위치에 있어야 하는지, 일련의 규칙들을 지정하는 작업을 하게 된다. 물론 요소가 많아지고 움직임이 복잡해질수록 연산의 난이도가 올라갈 것이다. 내가 한 작업은 단순해서 연산이라고 할게 많지 않았지만 말이다.


또한 Canvas API는 WebGL에 비해 최적화가 까다롭다고 한다. 가령 반복적인 그리기 작업을 수행할 때 셰이더라는 도구를 이용하게 되는데, 이 셰이더에 캐싱 옵션이 있다. 그러나 Canvas API는 도구 없이 직접 그리는 것이기 때문에, 캐싱을 구현하고자 한다면 캐싱을 해주는 작업 인스턴스를 직접 만들어야 한다.


또한 Canvas API를 현업에서 사용할 수 있을지도 생각해 보았다. 만약 인터랙티브 웹과 관련이 있거나 디자이너의 역할이 큰 도메인에서 일한다면 많은 도움이 될 것 같다. 디자이너의 표현의 자유를 극대화해 줄 수 있기 때문이다. 다만 미적인 요소가 강조되지 않고 편리한 사용성을 추구하는 도메인에서는 쓸 일이 별로 없을 듯싶다. 그러나 개발자로서 작은 기술 하나쯤은 품고 있어도 나쁘지 않다. 일하다 지칠 때 가볍게 활용해 보는 것도 활기를 되찾는 좋은 방법이 되어줄 것이다.


요즘IT의 모든 콘텐츠는 저작권법의 보호를 받는 바, 무단 전재와 복사, 배포 등을 금합니다.

좋아요

댓글

공유

공유

댓글 1
opqryt45
            잘 읽었습니다!  좋은 글이네요:)
          
2023.10.27. 오후 13:29
프론트엔드 엔지니어
139
명 알림 받는 중

작가 홈

프론트엔드 엔지니어
139
명 알림 받는 중
2년차 프론트엔드 개발자입니다. 리액트와 자바스크립트를 좋아합니다.

좋아요

댓글

스크랩

공유

공유

지금 회원가입하고,
요즘IT가 PICK한 뉴스레터를 받아보세요!

회원가입하기
요즘IT의 멤버가 되어주세요! 요즘IT의 멤버가 되어주세요!
요즘IT의 멤버가 되어주세요!
모든 콘텐츠를 편하게 보고 스크랩해요.
모든 콘텐츠를 편하게 보고 스크랩 하기
매주 PICK한 콘텐츠를 뉴스레터로 받아요.
매주 PICK한 콘텐츠를 뉴스레터로 받기
로그인하고 무료로 사용하기